React で フロント側のTodoアプリ開発用の環境構築していきます。
バックエンド側はコッチを参照ください。
アプリ開発の入門なため、基本的なCUI操作については説明しません。
下記がインストール済であることを前提に環境構築します。
- Ubuntu(自分はVer20.04)
- Visual Studio Code
- Docker Desktop
Docker Desktop のインストールは以下の記事が凄く分かりやすいです。

Typescript×React のインストール
最初に TypeScript と React をインストールします。
全部で7ステップです。
手順1:フォルダ生成
空のフォルダを作成して、その中に下記ファイルを作成します。
- Dockerfile
- docker-compose.yaml
手順2:Dockerfile 記載
Dockerfile に下記を記載します。
# ベースイメージの指定(Long Term Support を使用)
FROM node:lts

# Dockerコンテナに入ったときの作業ディレクトリ
WORKDIR /todo
手順3:docker-compose.yaml 記載
docker-compose.yaml に下記を記載します。
services:
  frontend:
    container_name: react # コンテナ名
    build:
      context: . # ディレクトリパス
      dockerfile: Dockerfile # ビルドファイル
    volumes:
    - type: bind
      source: ./react # ホストマシン上のディレクトリ
      target: /todo # Dockerコンテナ上のディレクトリ
    command: sh -c "yarn start" # React を実行
    ports:
      - 3000:3000 # ホストマシン:Dockerコンテナ
設定項目に関しても少し説明します。
build
ビルドするファイルを指定します。
カレントディレクトリの Dockerfile をビルドするので、
- context : .
- dockerfile : Dockerfile
という構成になります。
volumes
Dockerコンテナ内で作成したファイルをホストマシン上にも保存します。
また、type:bind を指定することで、ホストマシン上のファイルを Docker コンテナ内へ共有させることができます。
つまり、ホストマシン上で修正したファイルは Docker コンテナ内にも修正内容が反映されます。
command
コンテナ起動時に実行するコマンドを指定します。
todo ディレクトリに移動して React を起動しています。
ports
ポートマッピングしています。
ブラウザ上で localhost:3000 にアクセスすると、3000番ポートの Docker コンテナに接続されます。
参考サイト
分かりやすいので、この記事オススメです。
手順4:React×TypeScript インストール
React プロジェクトと Typescript をインストールします。
コマンドプロンプト上で下記を実行してください。
$ docker compose run --rm frontend sh -c 'npx create-react-app . --template typescript'⬇️のように実行されます。
~/github/ozack-todo-react$ docker compose run --rm frontend sh -c 'npx create-react-app . --template typescript'
[+] Creating 1/0
 ✔ Network ozack-todo-react_default  Created                                                                       0.0s
[+] Building 33.7s (7/7) FINISHED

(中略)

Success! Created todo at /todo
Inside that directory, you can run several commands:

  npm start
    Starts the development server.

  npm run build
    Bundles the app into static files for production.

  npm test
    Starts the test runner.

  npm run eject
    Removes this tool and copies build dependencies, configuration files
    and scripts into the app directory. If you do this, you can’t go back!

We suggest that you begin by typing:

  cd /todo
  npm start

Happy hacking!
npm notice
npm notice New major version of npm available! 10.9.2 -> 11.2.0
npm notice Changelog: https://github.com/npm/cli/releases/tag/v11.2.0
npm notice To update run: npm install -g npm@11.2.0
npm notice
手順5:コンテナ構築
コンテナを構築するために、コマンドプロンプト上で下記を実行します。
$ docker compose build⬇️のように実行されます。
~/github/ozack-todo-react$ docker-compose build
[+] Building 2.0s (7/7) FINISHED                                                                         docker:default
 => [frontend internal] load build definition from Dockerfile                                                      0.0s
 => => transferring dockerfile: 196B                                                                               0.0s
 => [frontend internal] load metadata for docker.io/library/node:lts                                               1.9s
 => [frontend internal] load .dockerignore                                                                         0.0s
 => => transferring context: 2B                                                                                    0.0s
 => [frontend 1/2] FROM docker.io/library/node:lts@sha256:c7fd844945a76eeaa83cb372e4d289b4a30b478a1c80e16c685b62c  0.0s
 => CACHED [frontend 2/2] WORKDIR /todo                                                                            0.0s
 => [frontend] exporting to image                                                                                  0.0s
 => => exporting layers                                                                                            0.0s
 => => writing image sha256:936f959ba516932c4955df3cd47939cf3e3b2d94ea67de7f5660cd8ee5c09c2b                       0.0s
 => => naming to docker.io/library/ozack-todo-react-frontend                                                       0.0s
 => [frontend] resolving provenance for metadata file
手順6:コンテナ起動
最後にコンテナを起動します。
コマンドプロンプト上で下記を実行してください。
$ docker compose up -d ⬇️のように実行されます。
$ docker compose up -d
[+] Running 1/1
 ✔ Container react  Started
手順7:動作確認

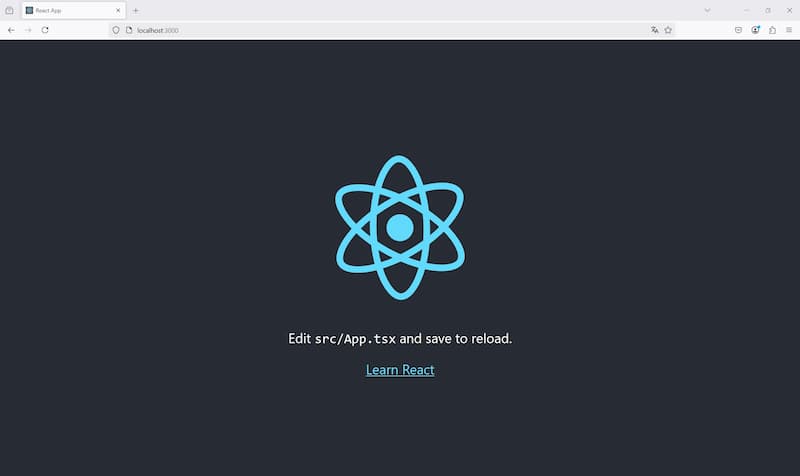
この画面になれば成功です!
Material UI のインストール
次に MUI をインストールします。
全部で5ステップです。
手順1:コンテナに入る
コマンドプロンプト上で下記コマンドを実行し、react コンテナに入ります。
$ docker exec -it react sh手順2:ディレクトリ移動
コマンドプロンプト上で下記コマンドを実行し、todo ディレクトリに移動します。
# cd /todo手順3:MUI インストール
Material UI をインストールします。
コマンドプロンプト上で下記コマンドを実行してください。
# yarn add @mui/material @emotion/react @emotion/styled⬇️のように実行されます。
# yarn add @mui/material @emotion/react @emotion/styled
yarn add v1.22.22
info No lockfile found.
warning package-lock.json found. Your project contains lock files generated by tools other than Yarn. It is advised not to mix package managers in order to avoid resolution inconsistencies caused by unsynchronized lock files. To clear this warning, remove package-lock.json.
[1/4] Resolving packages...

(中略)

├─ workbox-webpack-plugin@6.6.1
├─ workbox-window@6.6.1
├─ wrap-ansi-cjs@7.0.0
├─ wrap-ansi@7.0.0
├─ write-file-atomic@3.0.3
├─ ws@8.18.1
├─ xmlchars@2.2.0
├─ y18n@5.0.8
├─ yallist@3.1.1
├─ yaml@1.10.2
├─ yargs-parser@20.2.9
├─ yargs@16.2.0
└─ yocto-queue@0.1.0
Done in 37.89s.
手順4:MI インストール
Material Icon をインストールします。
コマンドプロンプト上で下記コマンドを実行してください。
# yarn add @mui/icons-material⬇️のように実行されます。
# yarn add @mui/icons-material
yarn add v1.22.22
warning package-lock.json found. Your project contains lock files generated by tools other than Yarn. It is advised not to mix package managers in order to avoid resolution inconsistencies caused by unsynchronized lock files. To clear this warning, remove package-lock.json.
[1/4] Resolving packages...
[2/4] Fetching packages...
[3/4] Linking dependencies...
warning "react-scripts > eslint-config-react-app > eslint-plugin-flowtype@8.0.3" has unmet peer dependency "@babel/plugin-syntax-flow@^7.14.5".
warning "react-scripts > eslint-config-react-app > eslint-plugin-flowtype@8.0.3" has unmet peer dependency "@babel/plugin-transform-react-jsx@^7.14.9".
[4/4] Building fresh packages...
success Saved lockfile.
success Saved 1 new dependency.

(中略)

Done in 37.89s.
# yarn add @mui/icons-material
yarn add v1.22.22
warning package-lock.json found. Your project contains lock files generated by tools other than Yarn. It is advised not to mix package managers in order to avoid resolution inconsistencies caused by unsynchronized lock files. To clear this warning, remove package-lock.json.
[1/4] Resolving packages...
[2/4] Fetching packages...
[3/4] Linking dependencies...
warning "react-scripts > eslint-config-react-app > eslint-plugin-flowtype@8.0.3" has unmet peer dependency "@babel/plugin-syntax-flow@^7.14.5".
warning "react-scripts > eslint-config-react-app > eslint-plugin-flowtype@8.0.3" has unmet peer dependency "@babel/plugin-transform-react-jsx@^7.14.9".
[4/4] Building fresh packages...
success Saved lockfile.
success Saved 1 new dependency.
info Direct dependencies
└─ @mui/icons-material@6.4.8
info All dependencies
└─ @mui/icons-material@6.4.8
手順5:コンテナから離脱
Material 関連のインストールが完了したため、下記コマンドでコンテナから離脱します。
# exitReact ファイルの変更
最後に React プロジェクト内のファイルを変更します。
全部で5ステップです。
手順1:App.tsx を変更
src フォルダ内の App.tsx の内容を一部削除します。
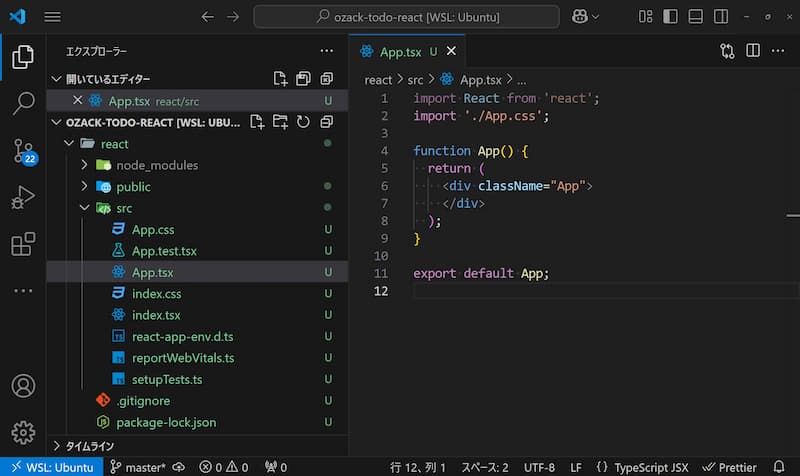
下記内容に変更してください。
import React from 'react';
import './App.css';

function App() {
  return (
    <div className="App">
    </div>
  );
}

export default App;
Permission エラーになる場合
変更する権限が無いエラーになる場合があります。
その場合、該当ファイルが存在するディレクトリに対して、コマンドプロンプト上で下記コマンドを実行してください。
$ sudo chmod -R 777 該当ディレクトリまでの絶対or相対パス今回の開発では当対策でも問題ないです。
本来なら操作権限をしっかり考えて適用した方がいいので、分かりやすい記事を載せときます。
手順2:動作確認
再度 http://localhost:3000/ にアクセスします。
下記画面に上書きされたら成功です。
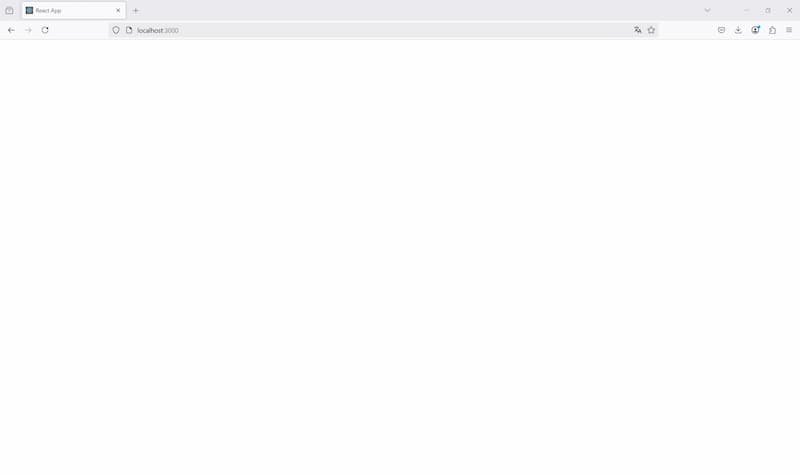
手順1でコードを削除したため、白紙になっています。
デフォルトだと React アイコンがグルグル回っているのですが、正直不要です。
手順3:不要なファイルを削除
public フォルダ内の下記ファイルも不要なので、削除します。
- favicon.ico
- logo192.png
- logo512.png
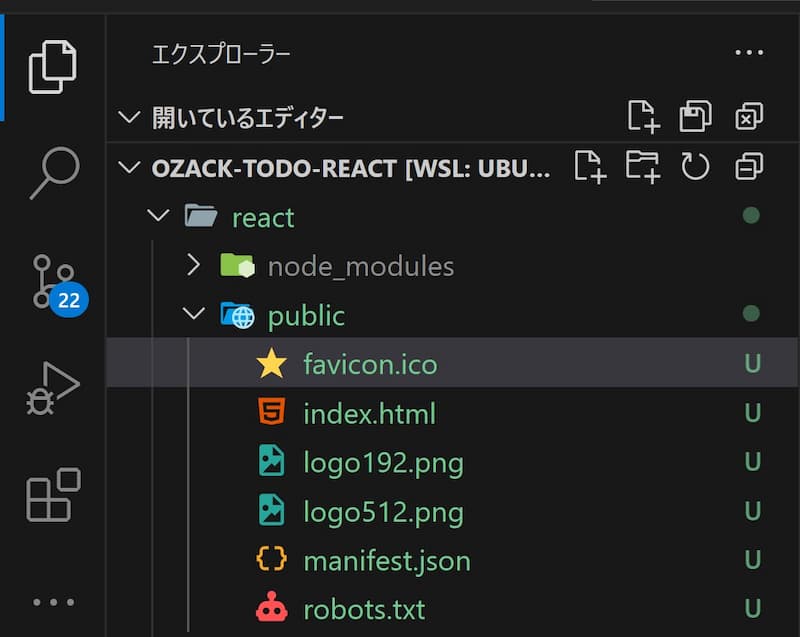
favicon.ico は残しておいてもいいです。
次の手順で当アプリのロゴを設定するのですが、事前に画像を用意する必要があります。
用意するのが面倒な場合は favicon.ico をそのまま使うスタイルで問題ないです。
手順4:index.html を変更
最後に public フォルダ内の index.html も変更します。
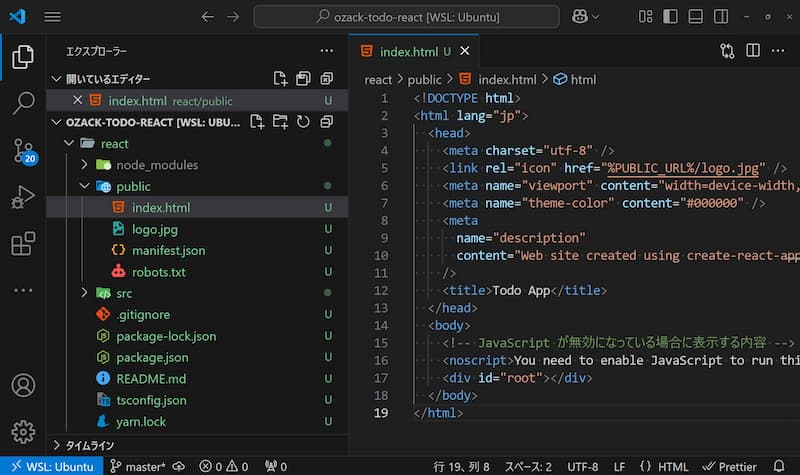
下記内容に変更してください。
<!DOCTYPE html>
<html lang="jp">
  <head>
    <meta charset="utf-8" />
    <link rel="icon" href="%PUBLIC_URL%/logo.jpg" />
    <meta name="viewport" content="width=device-width, initial-scale=1" />
    <meta name="theme-color" content="#000000" />
    <meta
      name="description"
      content="Web site created using create-react-app"
    />
    <title>Todo App</title>
  </head>
  <body>
    <!-- JavaScript が無効になっている場合に表示する内容 -->
    <noscript>You need to enable JavaScript to run this app.</noscript>
    <div id="root"></div>
  </body>
</html>
ロゴの設定
コードの5行目にロゴ画像のパスを設定します。
<link rel="icon" href="%PUBLIC_URL%/logo.jpg" />なお、このロゴは public フォルダ内に格納します。
自分が使うのは⬇️のロゴです。
手順5:動作確認
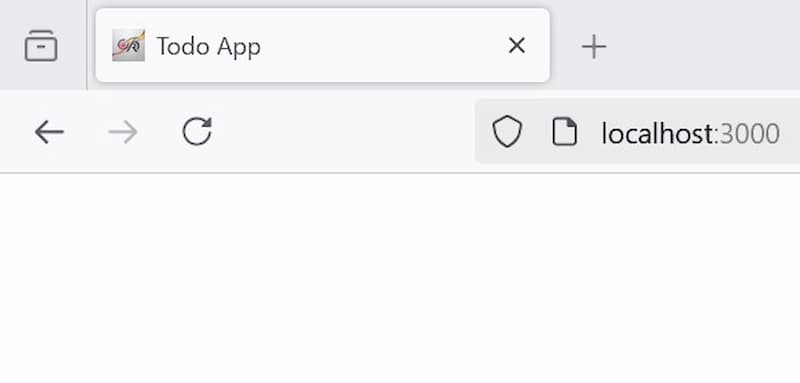
画像が設定したロゴになっていれば成功です。
まとめ
TypeScript×React×MUI を基盤としたフロンドエンド開発環境を構築しました。
次回ではバックエンド側と対応する Todo アプリを開発していきます。